Traveling Lightbox to Shoot Ephemera and Digitize Documents Everywhere
I spent a great many hours creating and testing a technique I use to photograph items and digitize archives around the world. This set up allows you to shoot 3D items like Tiki mugs as well as large flat items line menus and newspaper articles, and almost anything else. It is very inexpensive and uses items easily available in most any city. It is easy to travel with. Traveling with a scanner and laptop is not so easy…
Materials:
- 4 20 x 30 inch sheets of white foam core board
- A roll of wide tape, I use masking tape as it’s more forgiving
- Large white tissue paper
- A utility knife
- A car window camera mount
- 2 utility lights
- 2 5000 Kelvin LED bulbs
- A 2×2 foot piece of 1/4″ plywood
- Jigsaw/scroll saw, or other hole cutting tool
- A black and or white and or gray sheet of paper as backdrop
- Tripod
- Extension cord
Making the light box:
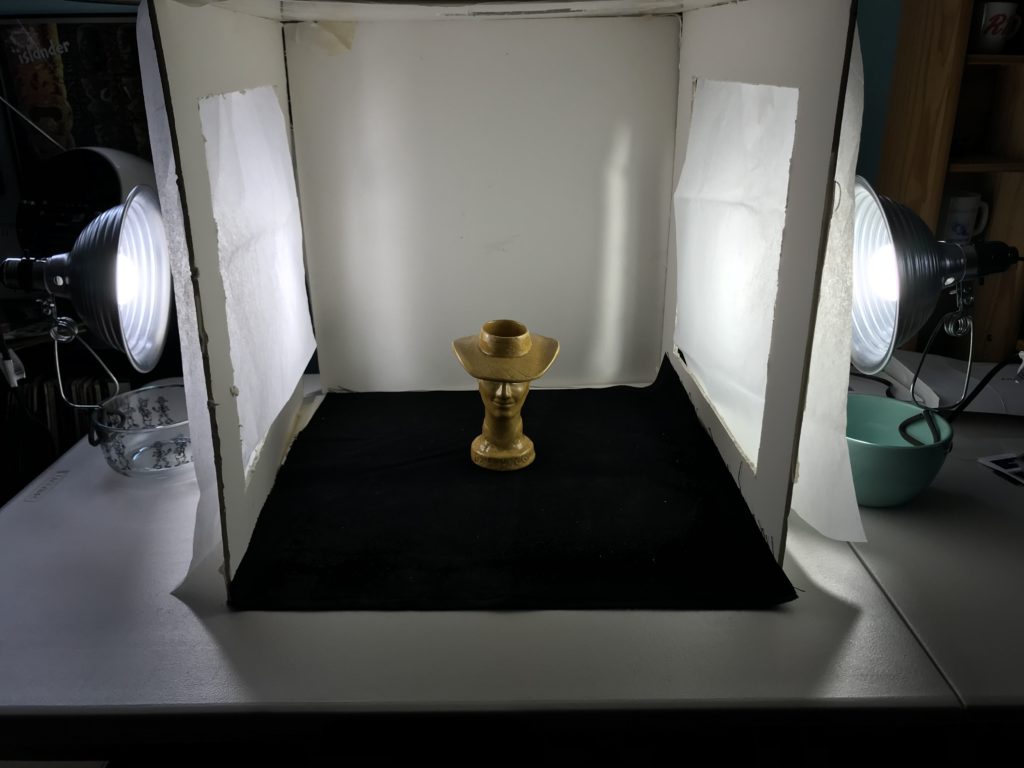
We’re building a 20 inch cube. with one side open for the camera.
First, using your utility knife, cut all foam boards to a 20 inch square. Use the edge of a board as a straight edge to mark your lines. Keep the leftover pieces.
Now draw out and cut holes in two of your squares at about 3 inches from the edge. These will be your left and right sides.
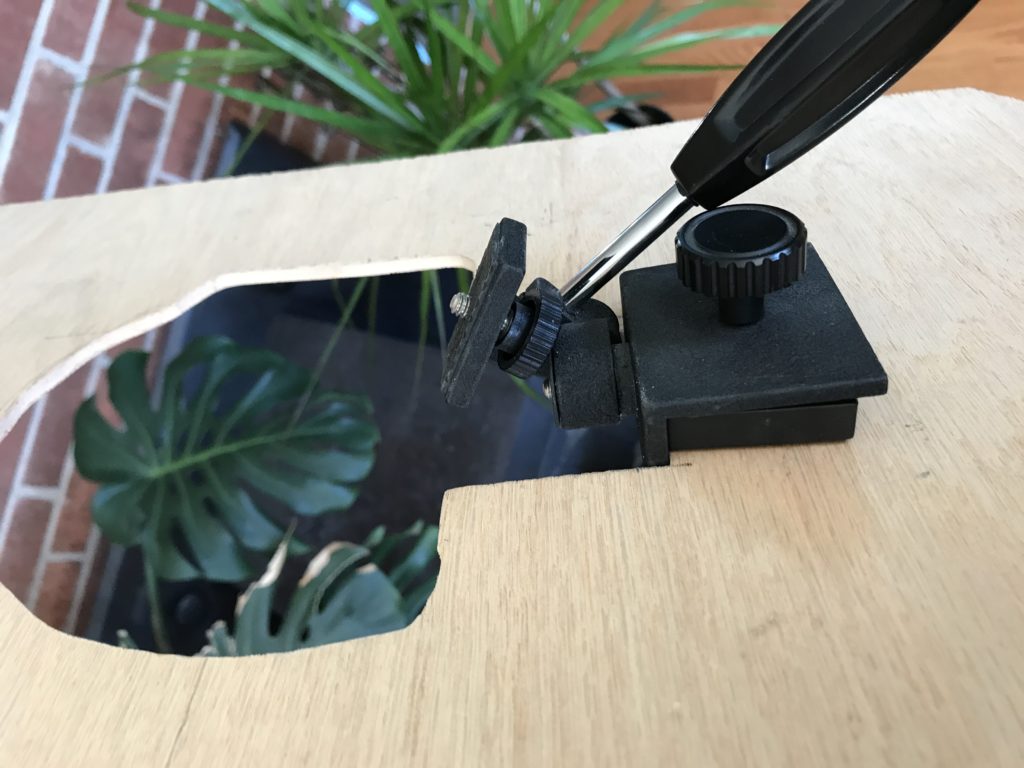
Cut an appropriately sized hole in one piece to fit your camera mount and camera through for shooting documents.
When you tape the box together, you want to be very careful with the top piece. The top piece must lay on top of the sides and be taped down securely with no wiggle room. This supports the weight of the camera and keeps the camera level.
Tear long strips of masking tape and set them on one piece and then fold them over the other piece. Do this on all edges. Use the leftover pieces on the bottom.
Attach tissue paper over the side opening to diffuse your light. I just attach it at top so I can pull it up out of the way if I want. You may also want to put two or three layers in place to allow for more diffusion.
Making the wooden mount board:
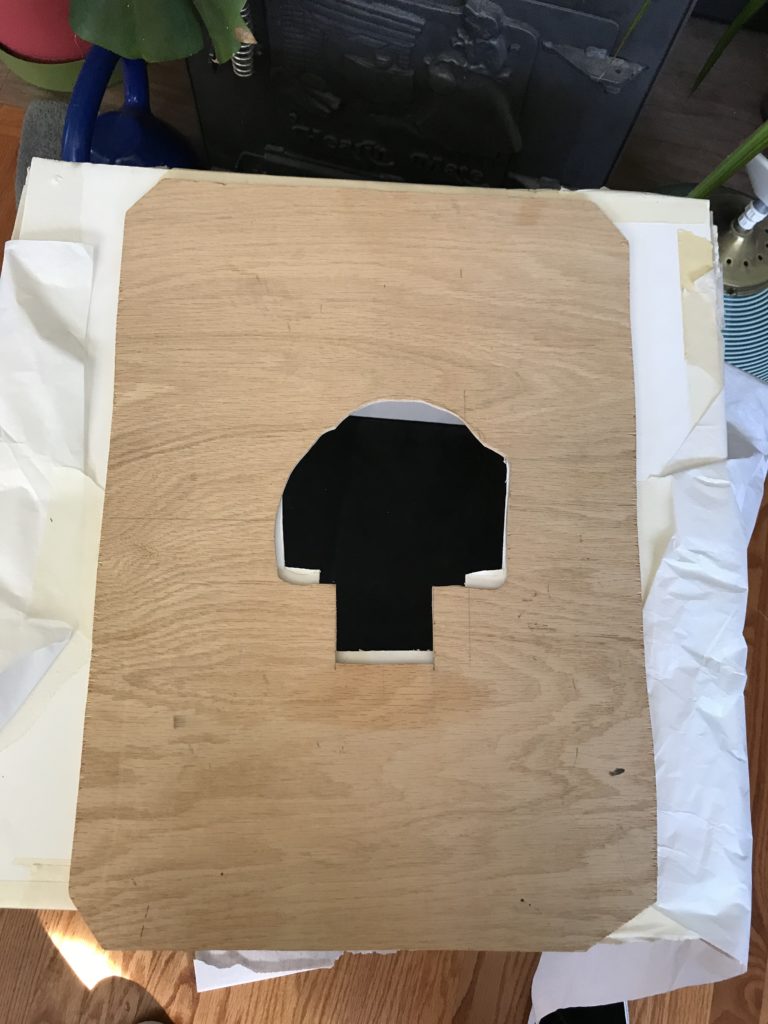
This bit will be the toughest as it really requires tools you may not have. You’ll need a drill and large bit and either a jigsaw, scroll saw or perhaps a Dremel. You need to cut a hole in the center of the board to attached the mount and fit the camera through. My board is about 20 by 14. This size was to fit inside my carry on bag for travel. I cut it specifically to my suitcase. You may not need to do that, but that’s the point for me. I want to pack as little as needed and build this box wherever I land with things I can get easily. I pack the lights and bulbs, tape, knife, tissue and camera. I buy the foam board there and build the box there. If my bulbs break, I can buy new ones easily. The only pieces I can’t do without are the mount, camera and plywood board.
In general you draw out the hole to cut, drill a hole in a corner of your area to put the jigsaw blade into, and then cut out the hole. Hopefully you can manage this some way. Just consider you may also want to cut the board down to fit in your luggage. You should cut it down to 20 x 20 at a minimum.
Set Up:
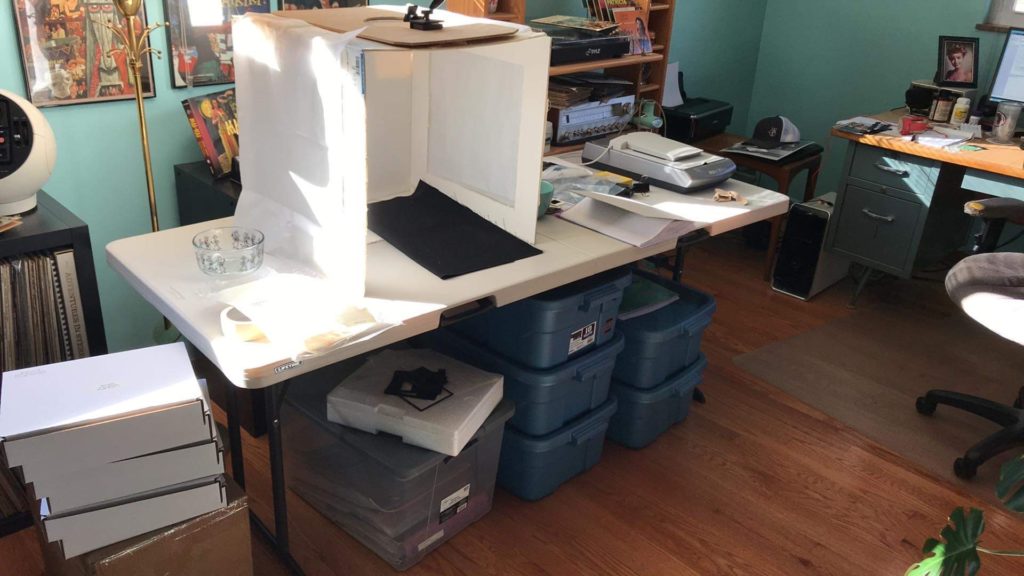
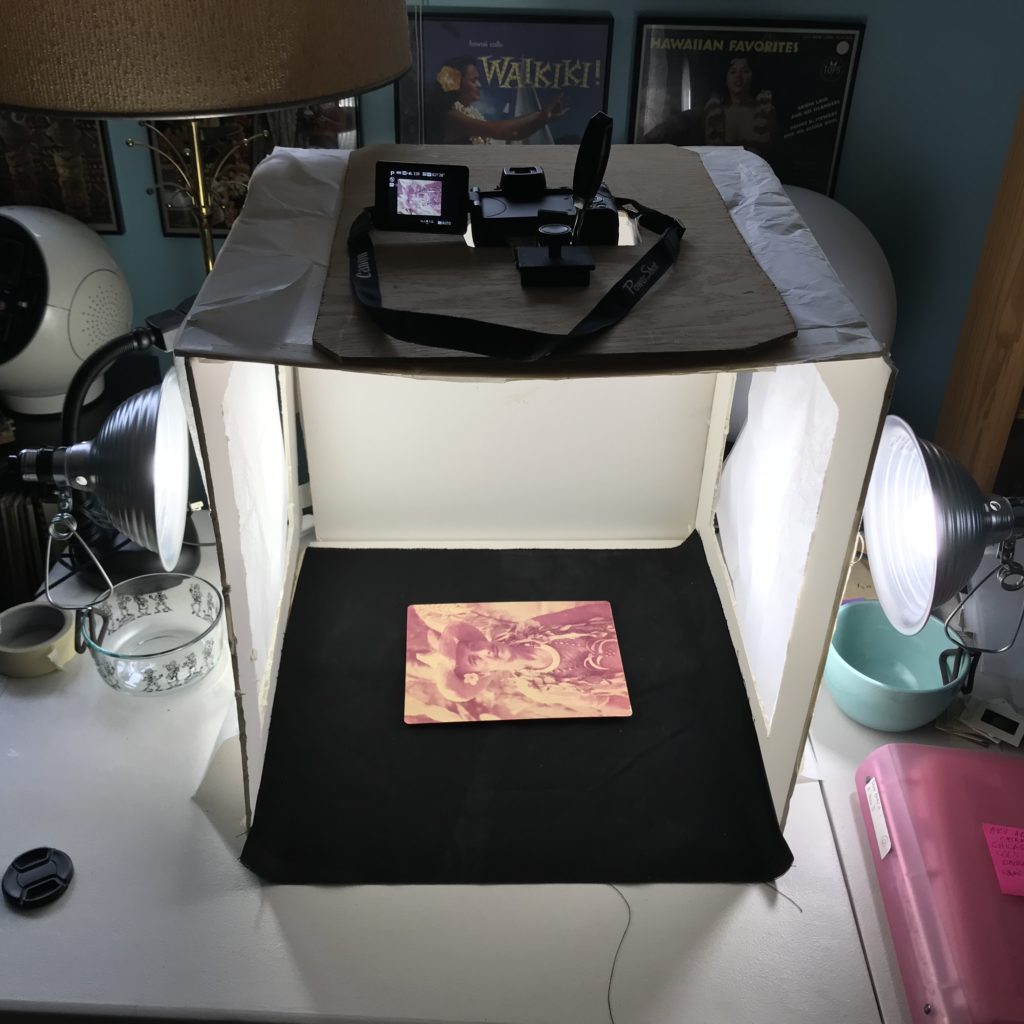
Now you set up your box on a table by putting your lights on either side and adjusting as needed. I also carry an extension cord for the lights. If you’re shooting an object, you’ll probably want to tape a piece of paper to the top back of your box that will come out to the edge and be a seamless background of your chosen color. Set up your camera on a tripod and shoot. You can adjust the lights manually to get the effect you want. You can even hand hold one and move it around however makes sense. I often shoot 3 shots, with both lights, and then each on by itself, for full lighting, left and right lighting.
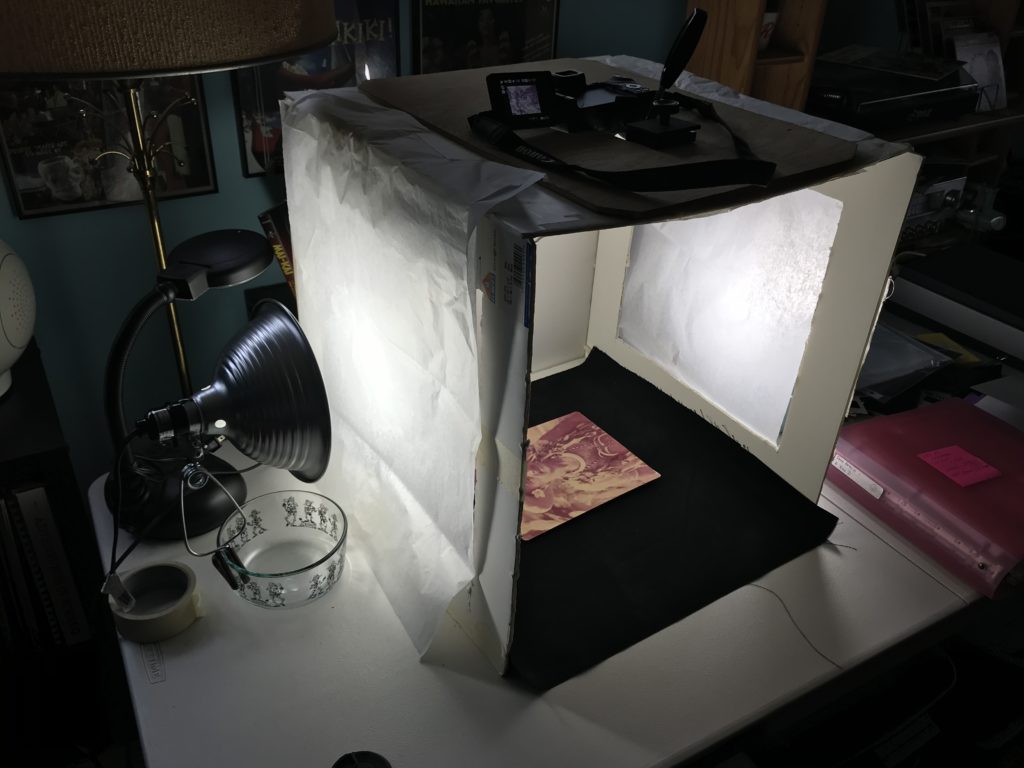
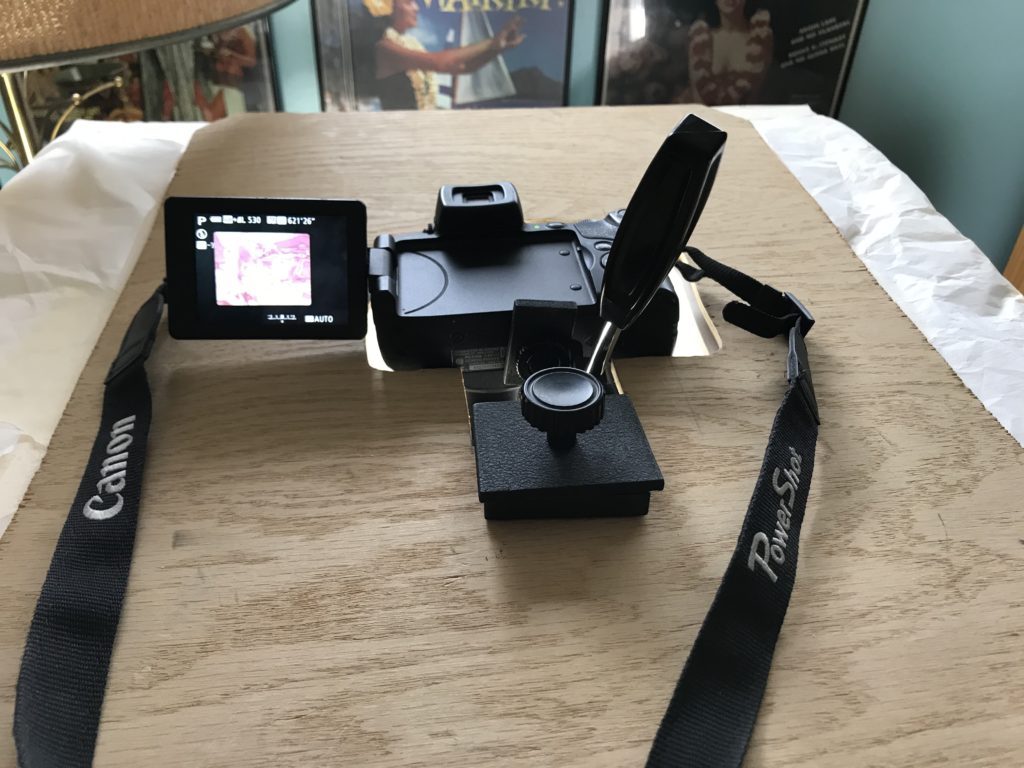
If you are shooting documents, you’ll be mounting your camera on the wood board and setting on top of the box. This has meant that I only use a camera with a swivel LCD viewer and use either a remote control or remote switch. This way with the camera up on top I can see what it’s doing while standing in front of the box and press the shutter remotely. It’s also really helpful if your camera remote has zoom control. Your resolution is the camera pixels, so you should try to zoom in to crop what you are shooting as much as possible to get the best resolution.
This set up is particularly fast for shooting binders, books, and other items where you can turn the pages. You just click, turn, click and get through things quickly. I use this method to take pictures of pictures instead of the slow and tedious flat bed scanning. This method does not work well for high gloss photos as you will get the reflection of the lights and the top of the box itself. This problem could be fixed if you invest in a piece of non-reflective clear glass. But that glass is very expensive!
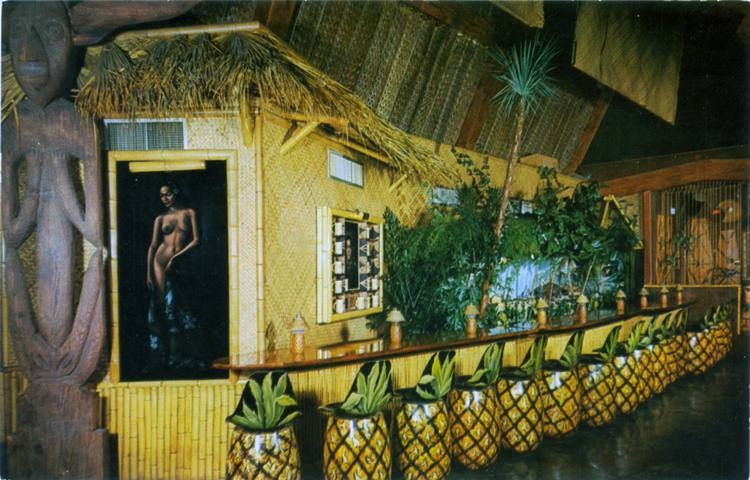
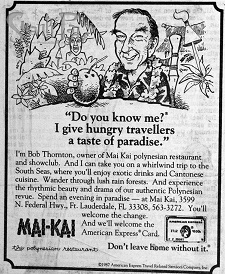
I used this to shoot everything in the Tiki Daze calendar and almost everything in my Mai-Kai book.
I hope this helps somebody. It’s been a huge help to me for a decade or more.
Pingback: Digitizing The Phoebe Beach Archive - Searching for Don the Beachcomber